To use Simple Voice Chat (Proximity Voice Chat) within our server, you will need to install the plugin as a client-side modification. To do this, please follow the guide step by step. Once completed, you will be ready to go!
In this guide, we will install the Fabric version of the Simple Voice Chat plugin. If you’re open to using Fabric, please continue reading. For other platforms, review their documentation.

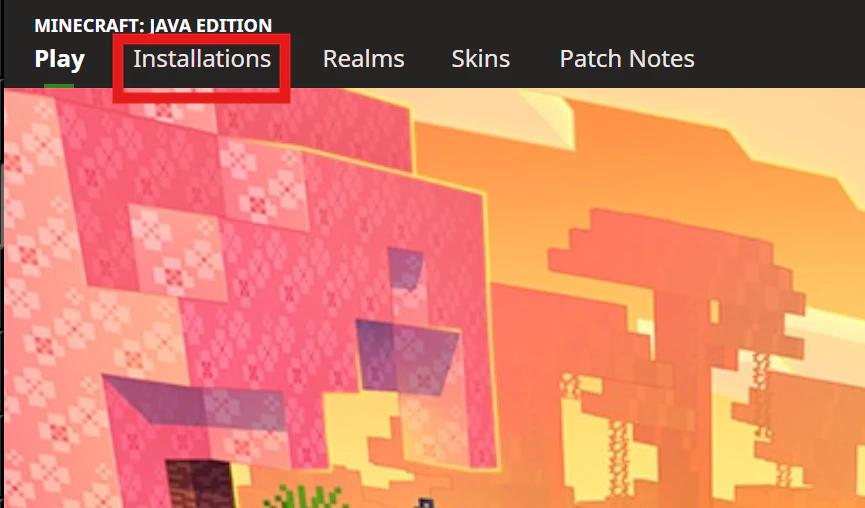
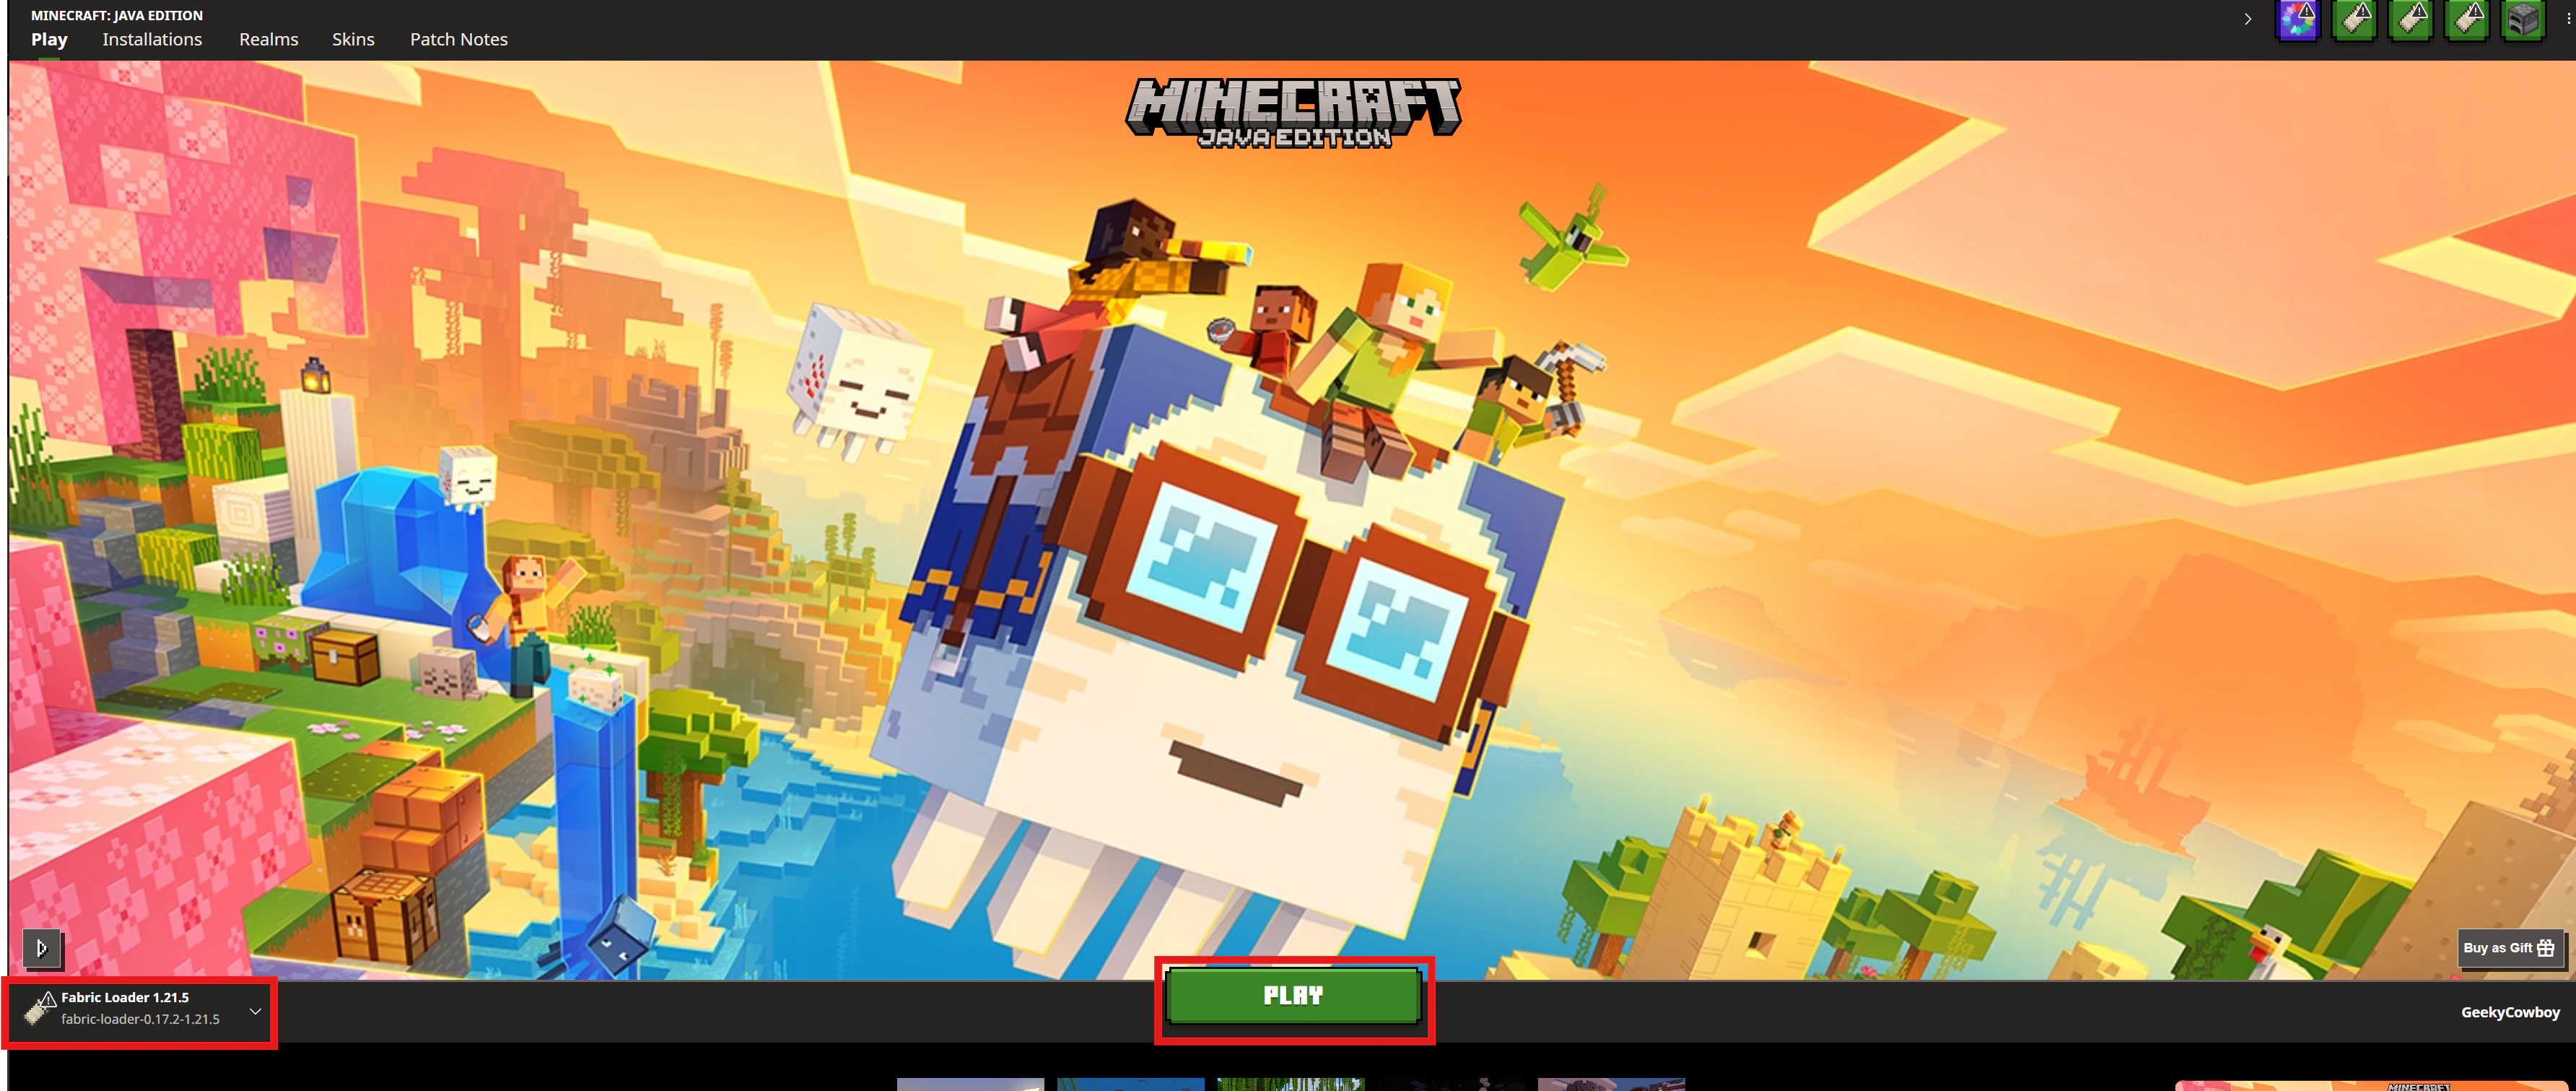
Setting up the Fabric Loader & API

Navigate to the Fabric Loader website and download the latest version by clicking the big blue **Download **button. Shows the Fabric Loader's website with a red rectangle outline around a blue button that says "Download". Once downloaded, double click the downloaded file and await for a menu to pop-up. It will then ask you to choose a Minecraft version. Choose whichever version you want. This will be important to note further in this guide.
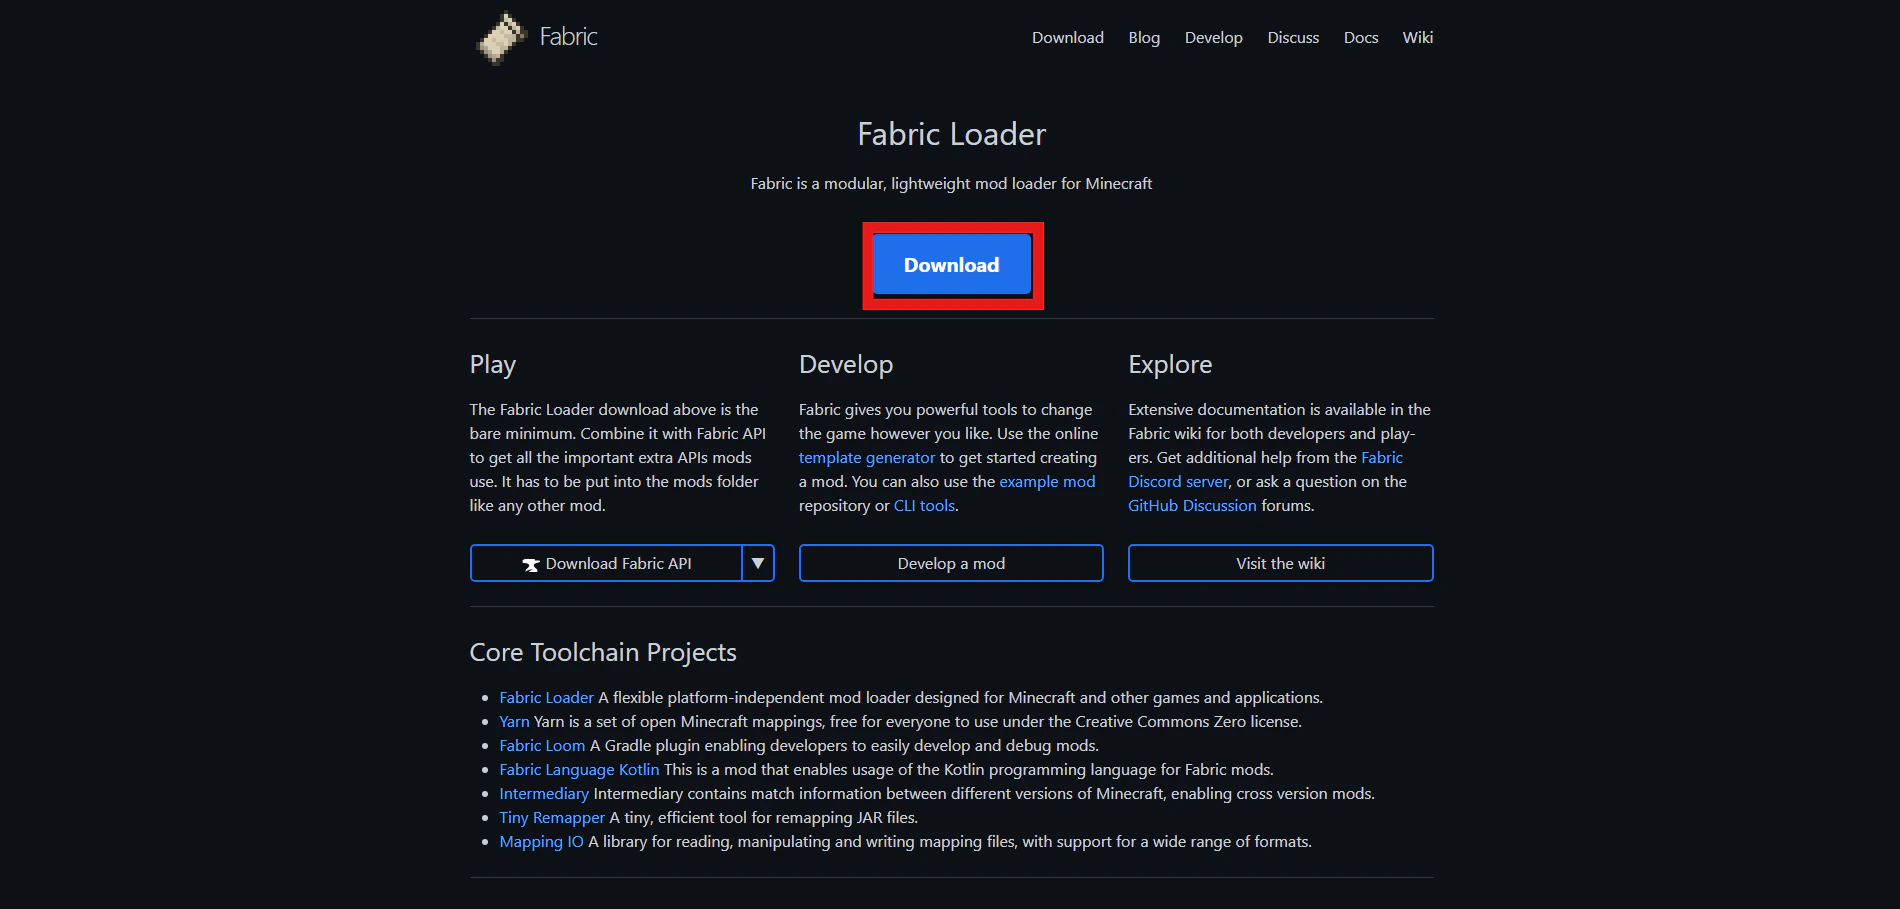
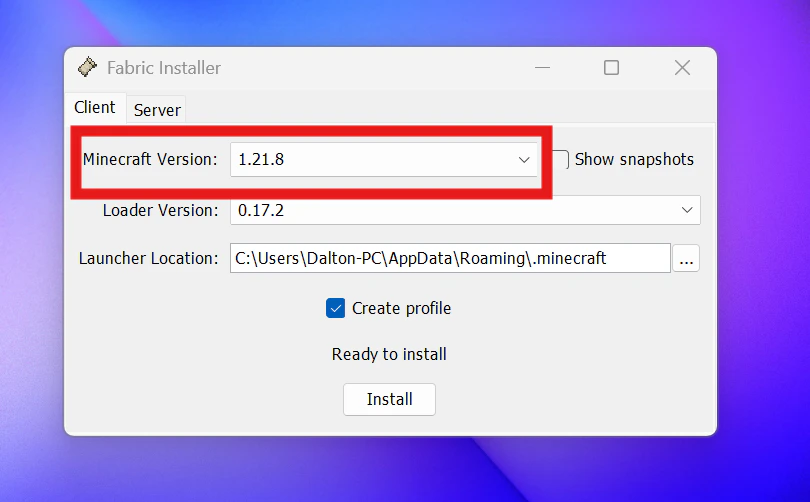
Our server uses 1.21.10 by default, but does allow other version, choose that or a version or two above.
Shows the Fabric Loader program with a red rectangler outline around the client based Minecraft version dropdown. The installer will automatically locate your Minecraft launcher’s location. Once that is set, leave everything else alone and check on the “Create profile” option before pressing “Install”. Shows the Fabric Loader program with a red rectangle outline around the create profile option checked on. Shows the Fabric Loader program with a red rectangle outline around the button that says "Install". Exit the installer program and launch your Minecraft launcher. You should now see a new profile added to your launcher, Fabric Loader, with the version number beside it. If you see that, you are good to go! Shows the new profile that Fabric Loader adds to the Minecraft launcher. Next up, in the top left, click on “Installations” and then hover to the right of the Fabric Loader profile. You’ll notice a folder icon, click on that, and it will take you to your installation folder. Shows a red rectangle outline around the "Installations" section on the Minecraft launcher. Shows a red rectangle outline around the folder button within the installations section of the Minecraft launcher. In the installations folder, you’ll also see a 
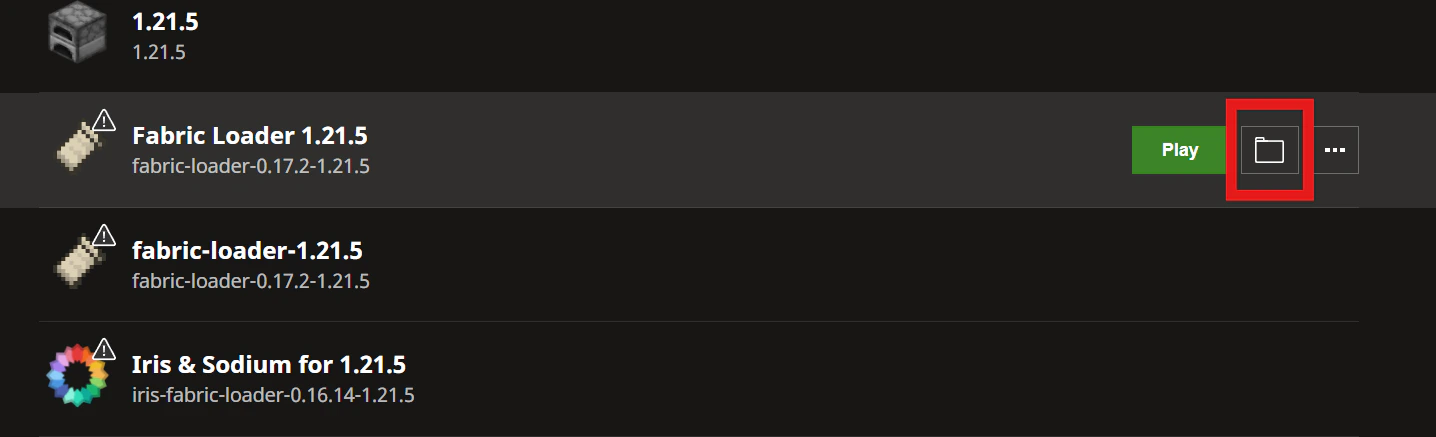
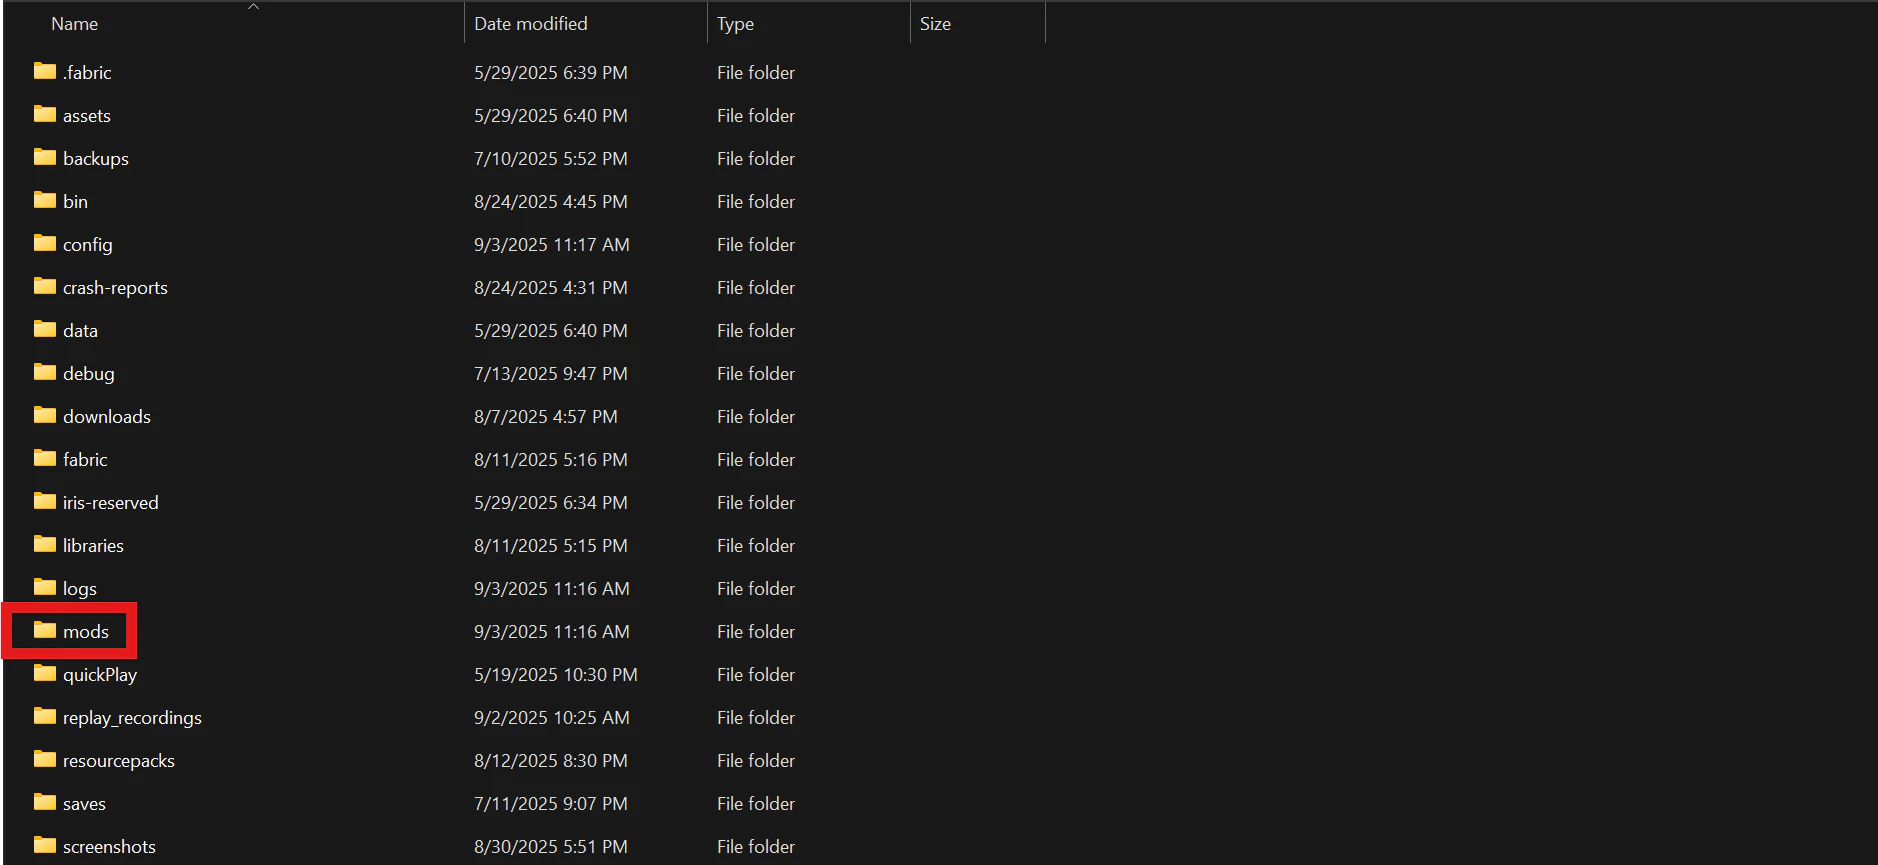
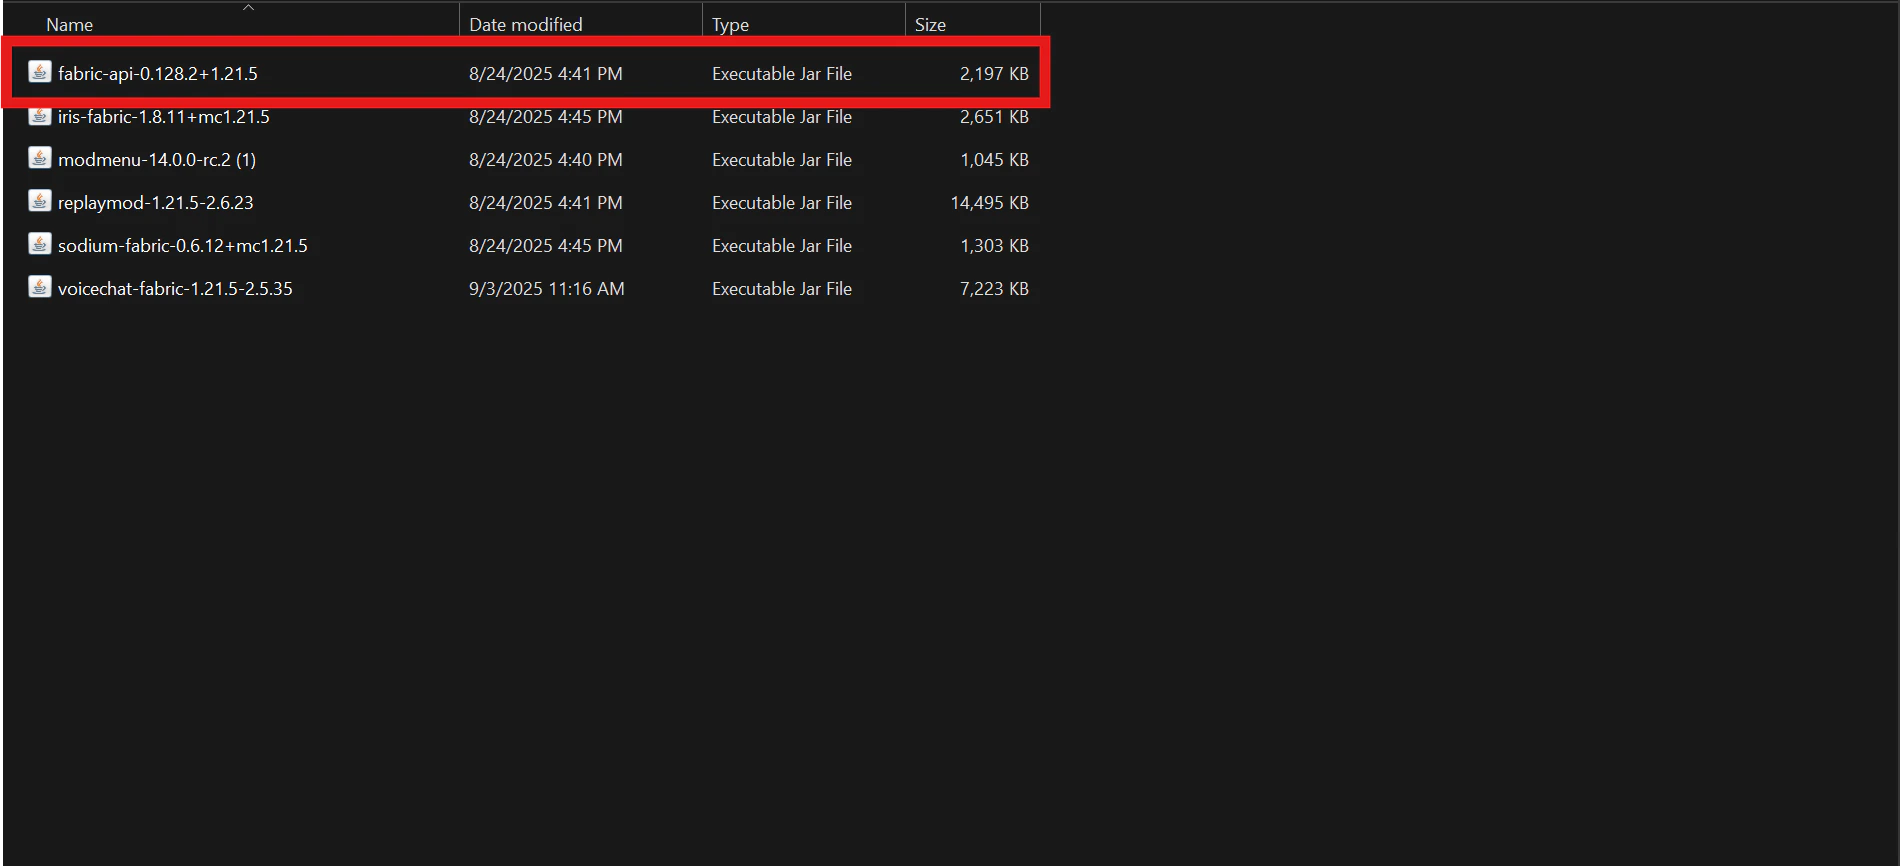
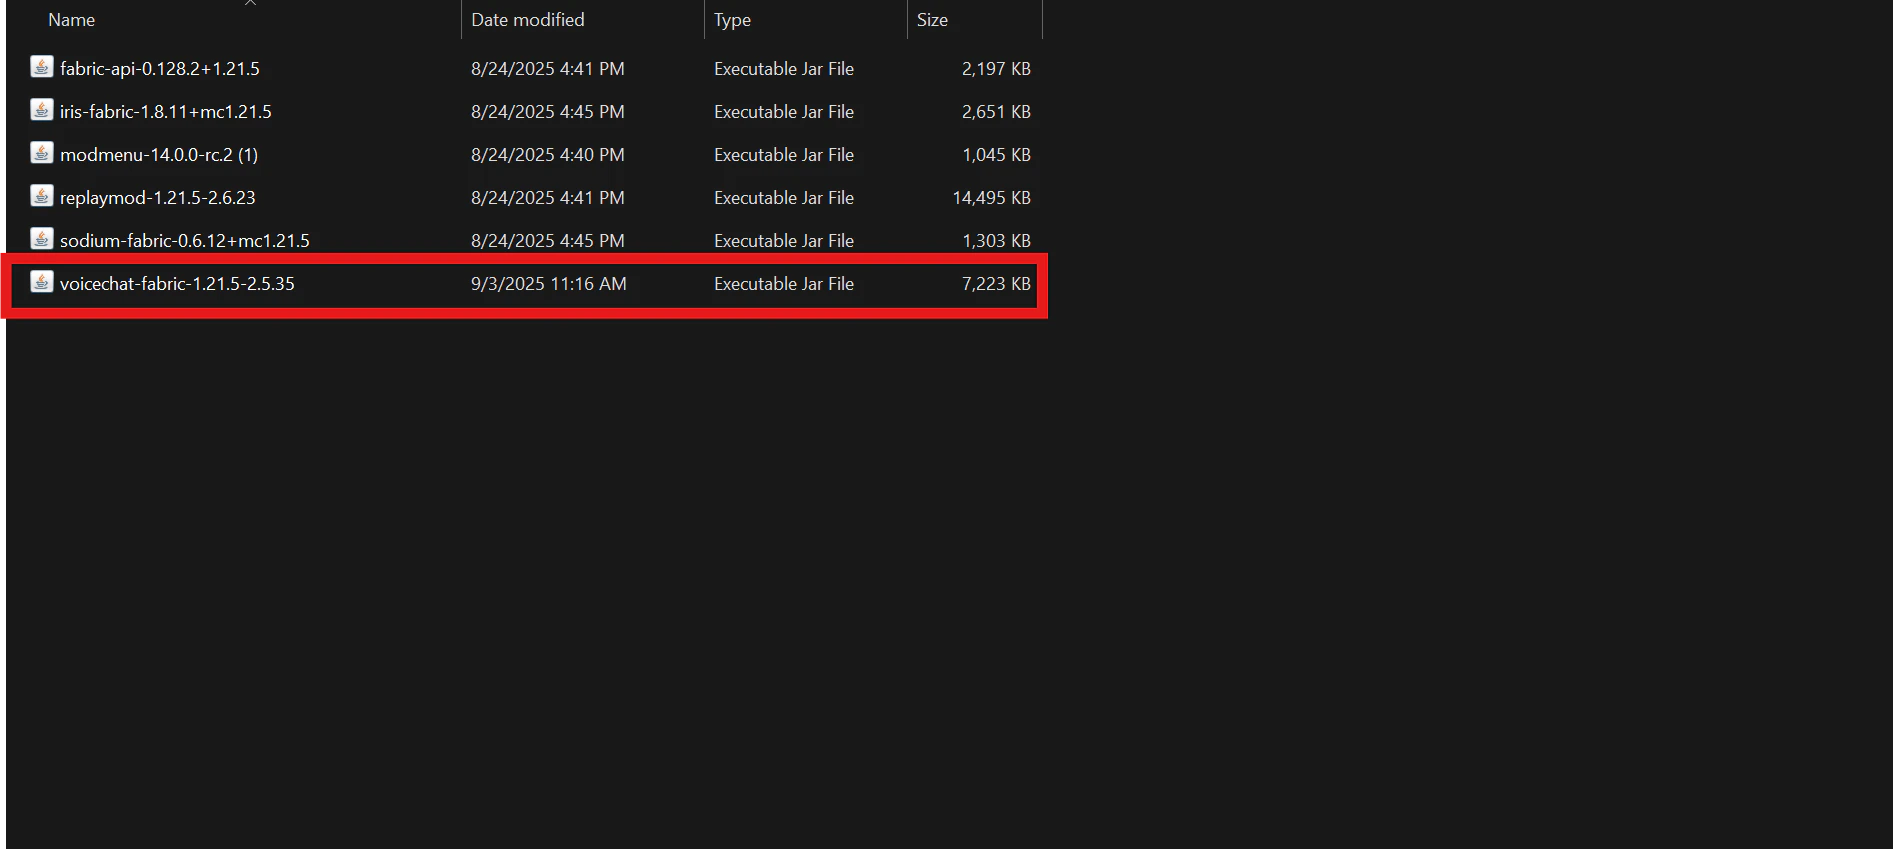
mod folder. That is where that Simple Voice Chat plugin will go, but before you can do that, you need to install the Fabric API. Shows the folder structure within a Minecraft game directory and a red rectangle outline over the "mods" folder. Go to Modrinth and download the Fabric API plugin for the version you are using in your newly created Fabric Loader profile. Shows a red rectangle outline over the "Download" button on the Fabric API plugin page on Modrinth.com. Displays a pop-up that allows you to choose the game version and platform to download the plugin or install it with the Modrinth app. To download it from Modrinth, click on the green **Download **button, select the game version that matches with your recently installed Fabric Loader, and await for it to download. Once it is downloaded, copy and paste it into your mods folder. Shows the inside of the mods folder with the Fabric API plugin inside with a red rectangle outline over it.

Install Simple Voice Chat

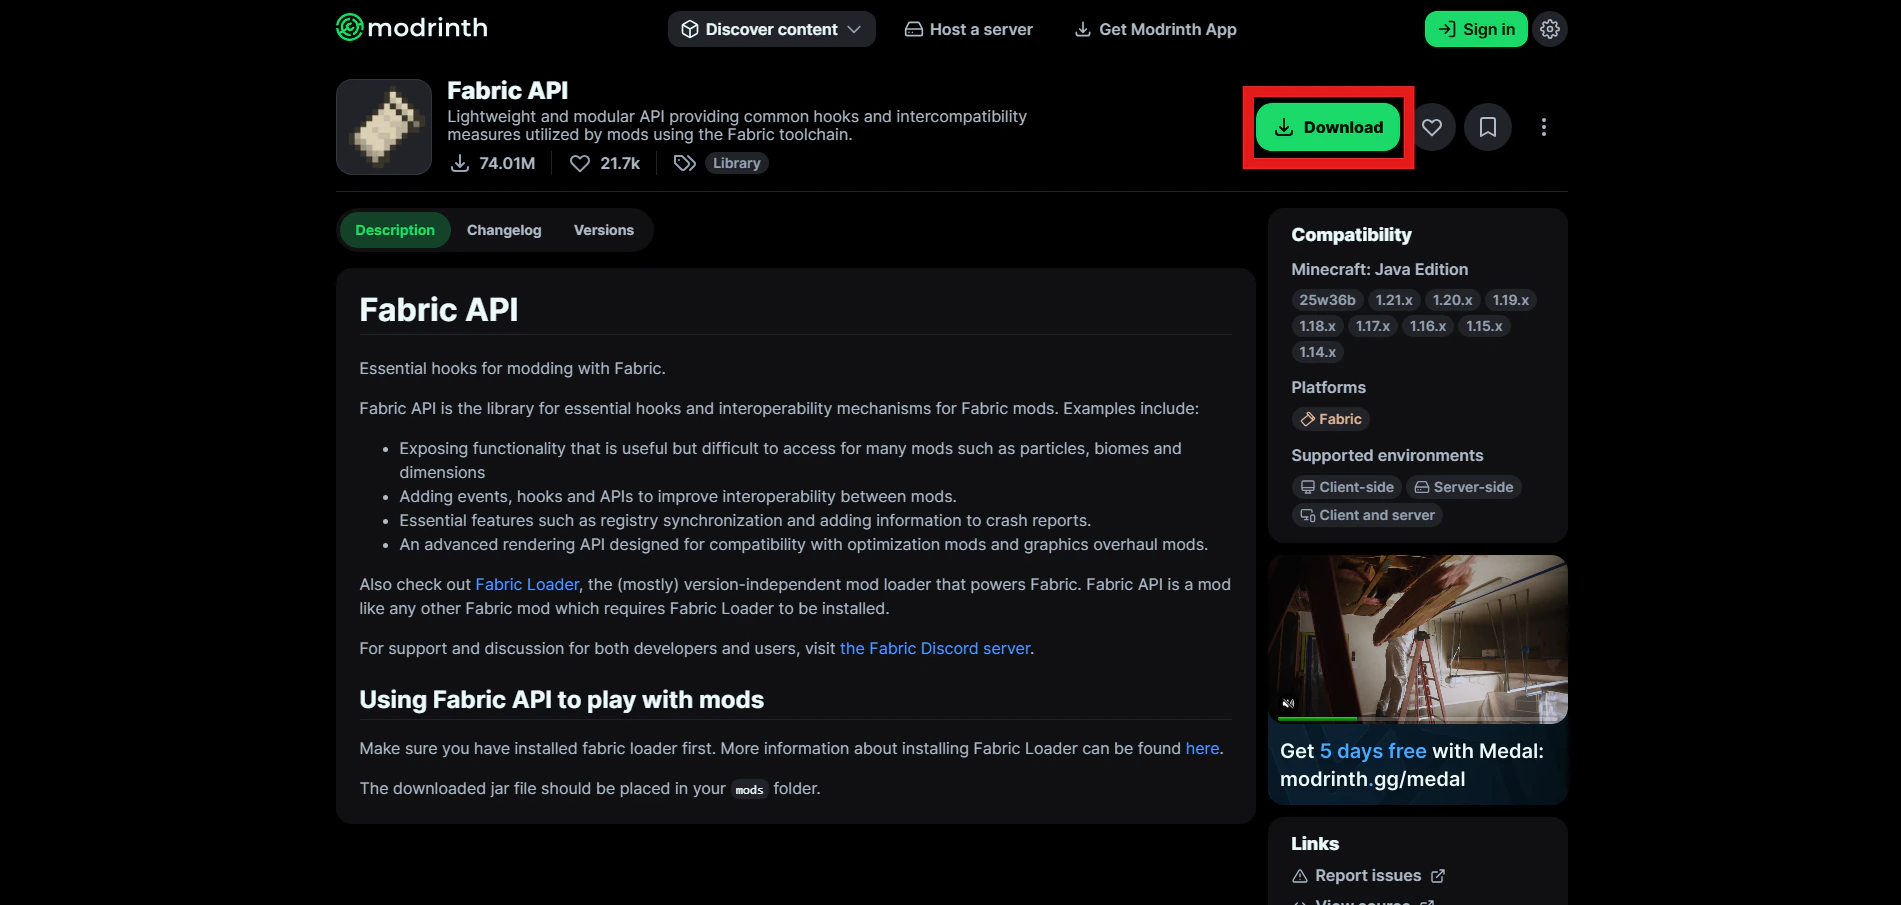
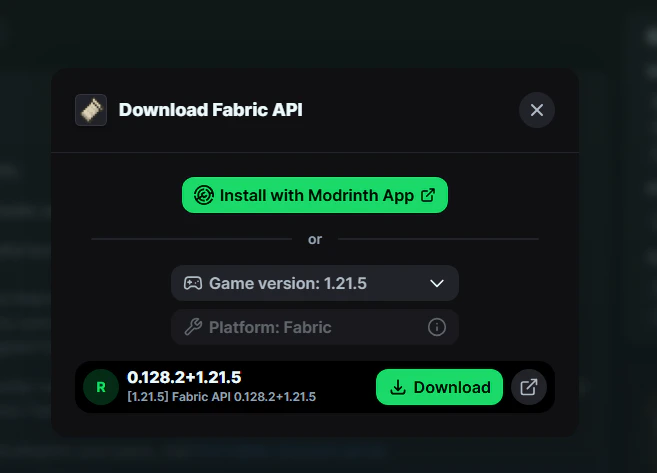
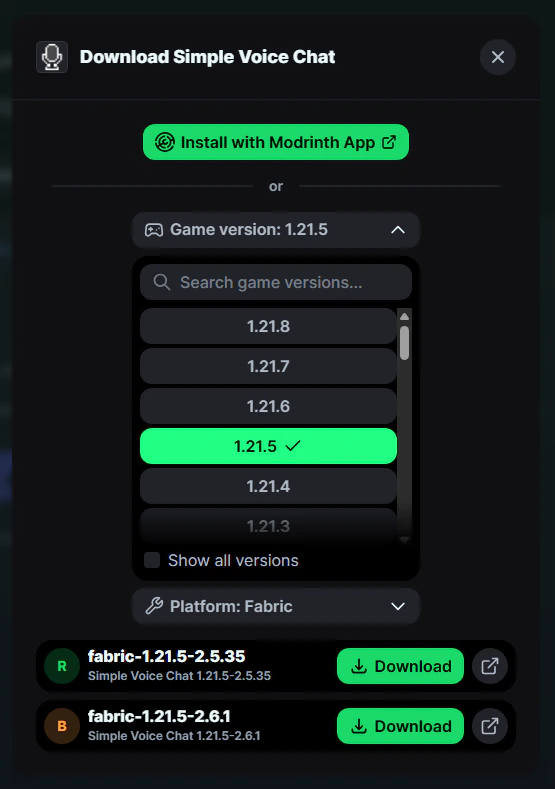
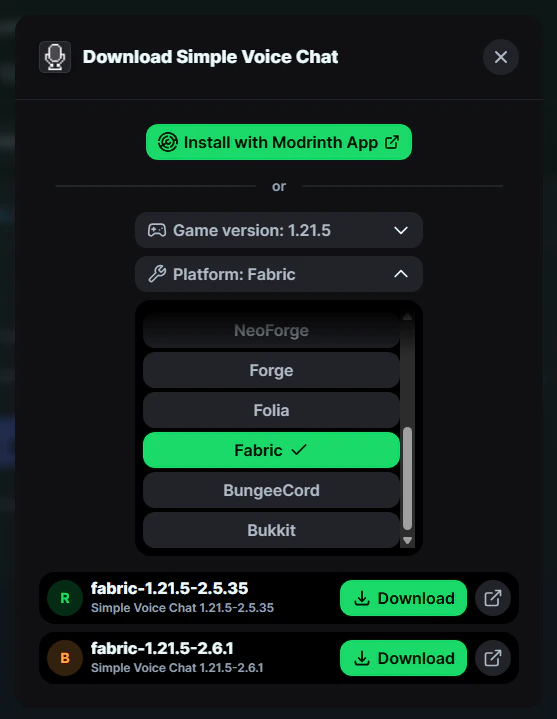
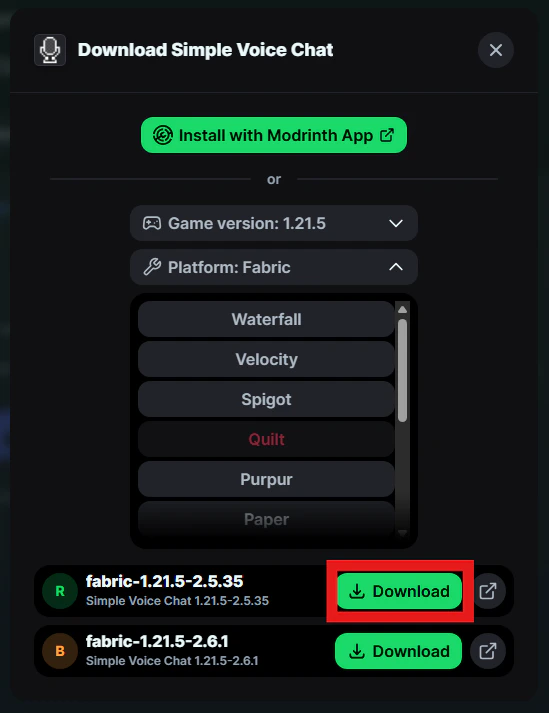
After, go and grab the Simple Voice Chat plugin from Modrinth. Click the green Download button, choose the Minecraft version you chose when installing the Fabric Loader, and choose Fabric within the platform. Then hit the **Download **button again and wait for it to download to your computer. Shows a red rectangle outline over the "Download" button on the Simple Voice Chat plugin page on Modrinth.com. Displays a pop-up that lets you select the supported game version for that plugin. This section of the pop-up allows you to choose a supported platform for that plugin. This section of the pop-up gives you two download buttons; one with an "R" for release or "B" for beta. Choose the release version. Then add that newly downloaded plugin to the mods folder that we opened up before in installations.
Stick to versions that are release or “R” based when downloading the plugin. Stay away from beta or “B” at this time, please.
Shows the file structure inside the "mods" folder with the Voice Chat plugin highlighted with a red retangle outline over it. Load up your Minecraft launcher, select your Fabric Loader, and press Play. Check to see if any errors pop up; if not, then load into the server and follow further instructions below. Shows the Minecraft launcher with the Fabric Loader profile that was setup ealier in this tutorial highlighted with a red retangled outline.

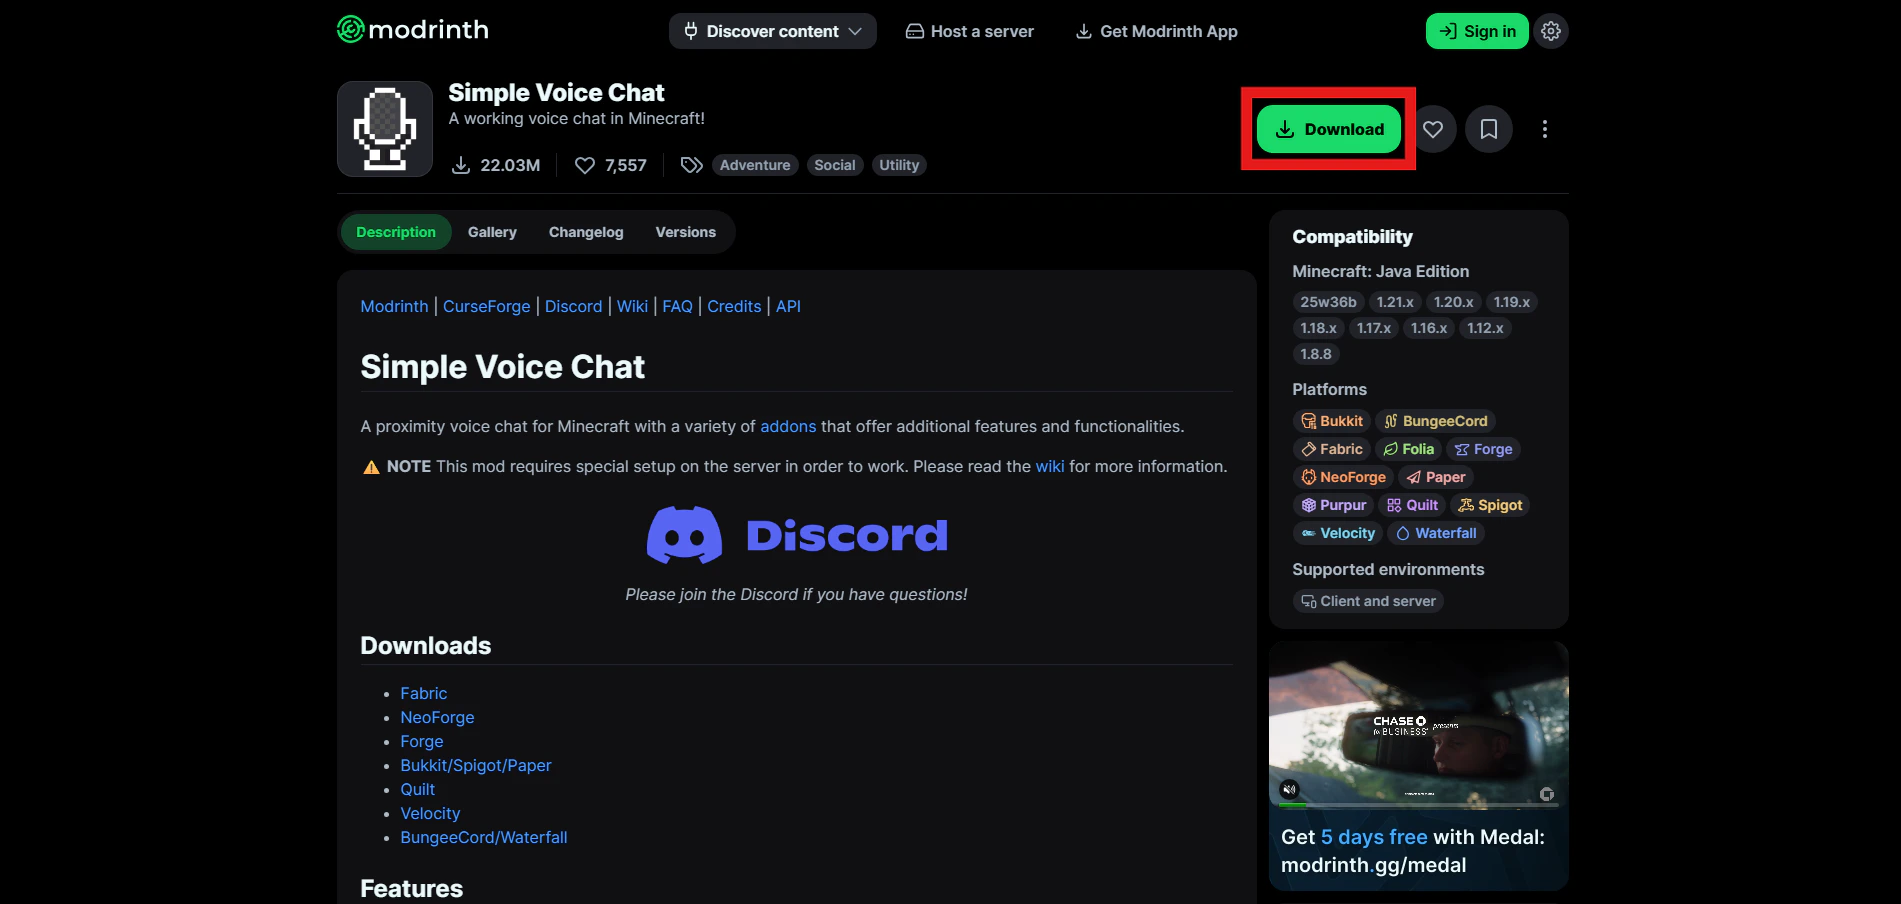
Setting up Simple Voice Chat

Join the server and then press the V key. Once done, it will take you through a guide to get setup with Simple Voice Chat. You can also use the following commands or keybindings.

Commands

CommandDescription
/voicechat helpShows all possible commands.
/voicechat invite <PLAYERNAME>Invites the player to the group you are in.
/voicechat join <GROUP-NAME>Connects you to the group with that name.
​_This command only works if there’s not more than one group with that exact name._
/voicechat join <GROUP-ID>Connects you to the group with that ID.
​_This should not be used directly. This command is automatically executed when accepting an invite._
/voiccechat leaveDisconnects you from your current group.

Keybinds

NameDefault KeyDescription
Voice Chat GUIVOpens the voice chat GUI.
Voice Chat SettingsNot bound by defaultOpens the voice chat settings.
Group Chats1.21.6+: Not bound by default

1.21.5 and earlier: G
Opens the group chat GUI.
Push To TalkNot bound by defaultThe push to talk key (Only when using activation type PTT).
​_You get to set this in the onboarding guide._
Mute MicrophoneMThe mute button (Only when using voice activation type Voice).
Disable Voice ChatNThis button disables the voice chat. Other people can’t hear you and you can’t hear them.
Hide Voice Chat IconsHThis button hides all icons related to the voice chat.
Toggle RecordingNot bound by defaultToggles voice chat audio recording.
WhisperNot bound by defaultHold down to whisper.
For more information on how to use this plugin, please view the developer’s documentation here.